
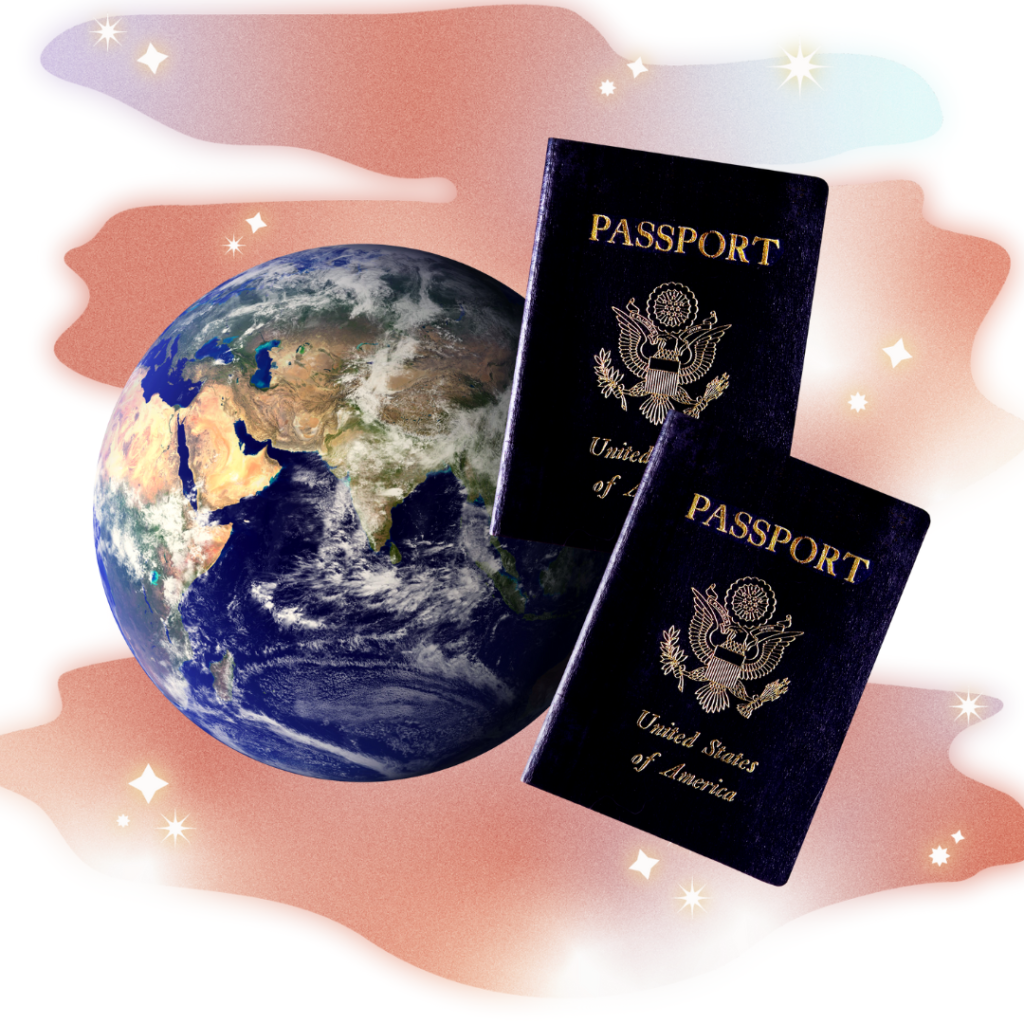
My family and I haven’t traveled for a LONG time. COVID kind of threw a major wrench in that. So when we finally felt ready this year to get out of Dodge (and go to the AZORES!!!… more on that soon), we needed to get new passports as ours were long expired.
That’s when I remembered those tiny little 2×2 passport photos for some reason cost a ridonkulous $16.95 each, adding another $50 for the three of us onto the already high cost of the passports themselves. I don’t know about you, but I can think of a lot of things I’d rather spend $50 on than three very unflattering pictures of us taken in the back corner of a Walgreens.
I knew there had to be a better way, and sure enough, there is. With just a little bit of effort and probably not that much more time than it would take to drive to your drugstore photo booth, you can get acceptable passport-quality photos for as little as 14 cents each (or less if you use a coupon at printing time). Not to mention you can retake until you get one you like. Here’s the step-by-step:
1. Download the Passport Photo – ID Photo app on your phone, or something similar

It doesn’t have to be this one, this is just the one that I used. Once you’re in, select the country through which you’ll be applying for a passport to make sure you get the right dimensions. Many are 2×2 like the United States, but some are different. Using the app, take a selfie against the lightest plain background you can find in your house, which will show guidelines for where the top of your head and the bottom of your chin need to be. This is all important as if you don’t follow these guidelines your photo will likely be rejected. That’s the benefit of using this app instead of just your camera. Remember that you can smile (something I didn’t realize, but honestly I’ll prob have resting bitch face when going through customs so it’s really more accurate), but that you shouldn’t show a bunch of teeth or distort your face in any way. Oh and take off your hats and glasses, my hipster friends.
Now this is also important: ignore all the things popping up telling you to upgrade so you can get access to multiple photos in color or remove the background. You don’t need to give them any money. Just download the single image to your camera roll.
2. Remove the background
I used Canva for this because I have access to a free Pro account through my workplace — so if you have access to Canva Pro you’re in luck. Just create a new project that’s 6×4 (WxH) inches, upload the image into it, and then copy and paste a duplicate of this image. You only need one for the application but they say it’s good to have a spare and it won’t cost you any extra. Once you have them arranged click “Edit Photo” and remove the background. (Note: technically altering your photo is not allowed for US Passports but they make exceptions for background removal. So this is A-OK but don’t go wild with any filters or touchups, friends.) Note that I recommend duplicating before you remove the background so that you can see the edges better and avoid accidentally cutting off the much-needed edge of your photo.
If you DON’T have Canva, never fear — Adobe Express has a FREE program (with sign up) that will do essentially the same thing. I find it works much better on a desktop than mobile. Similar to in Canva, you’ll want to create a 6×4 image, choose “Media” and upload your new photo, duplicate it, then select “Remove Background.”
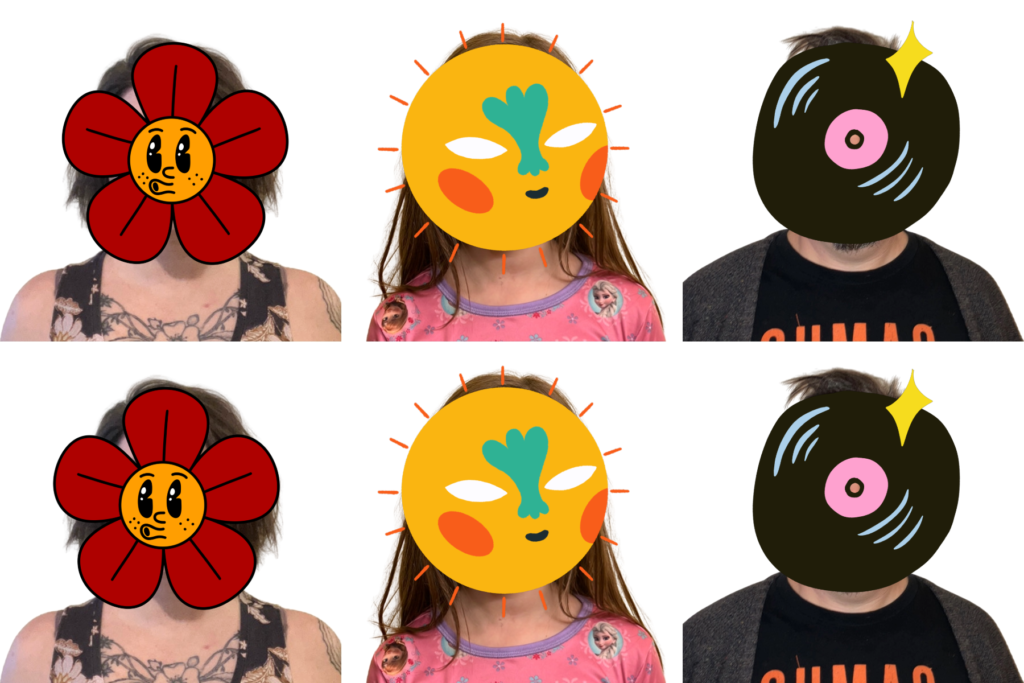
Big Hint: You can fit up to three passport photos in duplicate on a single 4×6 photo, like so. Faces covered to protect the innocent.
3. Send to CVS or your nearest photo printer
I chose CVS because they are not only the closest but they are big on coupons and rewards points if you have an account with them. Sure enough, when I got my photo printed they had photo prints on sale for 50% off, making my single print only 22 cents (and thus each of our passport photos less than 8 cents each — that’s 99.6% off the cost of having them take the pic). I got mine printed within the hour.
4. Cut carefully
Use scissors or a paper cutter to cut each out to exactly 2×2 inches — use the edges of your shoulders as a guide. Bring to your passport office or staple to your application. We had to go in person for my daughter and we double-checked with them to make sure they were up to snuff. They passed her standards, and sure enough within 4 weeks, we had gotten our approved passports back, with our DIY ultra-frugal pics looking smugly back at us amidst a nauseatingly patriotic background full of eagles and colonists.
That’s it. Granted it does take a bit of tech-savvy to navigate the apps, but it probably only took me about a half hour to go through the process. To me that’s worth saving $50 that I can later spend on some sweet local souvenirs or food while traveling.
Running into snags? Need more walkthroughs with the apps? Comment below and let me know how this process goes for you!